
Whether you’re hitting the club, brunch, or just chilling at home, Bantu knots are a versatile look. Let Michael Kent guide you through the process.
What You’ll Need

Step 1: Prep That Hair
Start with clean, detangled hair. Bantu knots work on any hair texture, but slightly damp hair is where the magic happens. Grab your leave-in conditioner or moisturizer and work it through your hair.
Step 2: Section
Using your rat-tail comb, part your hair into sections. The size is up to you – smaller sections give you a cute, intricate look, while larger sections scream drama and boldness. Secure each section with a clip so you’re not fighting stray strands while you work.
Step 3: Smooth It Out
Add a bit of styling gel, butter, or oil to each section to keep things smooth and frizz-free. Run it through with your fingers or a comb until your hair is softer.
Step 4: Twist It Up
Grab a section and start twisting from the roots to the ends. Keep it tight, but don’t overdo it—we want snatched, not stressed.
Step 5: Knot It
Here comes the fun part: take that twist and wrap it around itself at the base to form a knot. Keep wrapping until you’ve got a cute little bun sitting pretty. Tuck the ends under the knot, and if it’s flying away, secure it with an elastic.
Repeat
Work your way through all the sections, taking your time to make each knot as flawless. Pro tip: play some Beyoncé or Doja Cat while you’re at it – it helps with the vibe.
Step 7: Set and Forget (For Now)
Once you’ve got all your knots in place, let them air dry or sit under a hooded dryer if you’re in a hurry. Want to make it extra sleek? Wrap your hair with a satin or silk scarf.
Step 8: Rock the Knots or Release the Curls
You can wear your Bantu knots as-is, or you can unravel them for bouncy, defined curls. When you’re ready to take them down, be gentle – separate the curls with your fingers and fluff.
More Info
Online: www.bluetitlondon.com
Instagram: @michaelkent_hairdressing
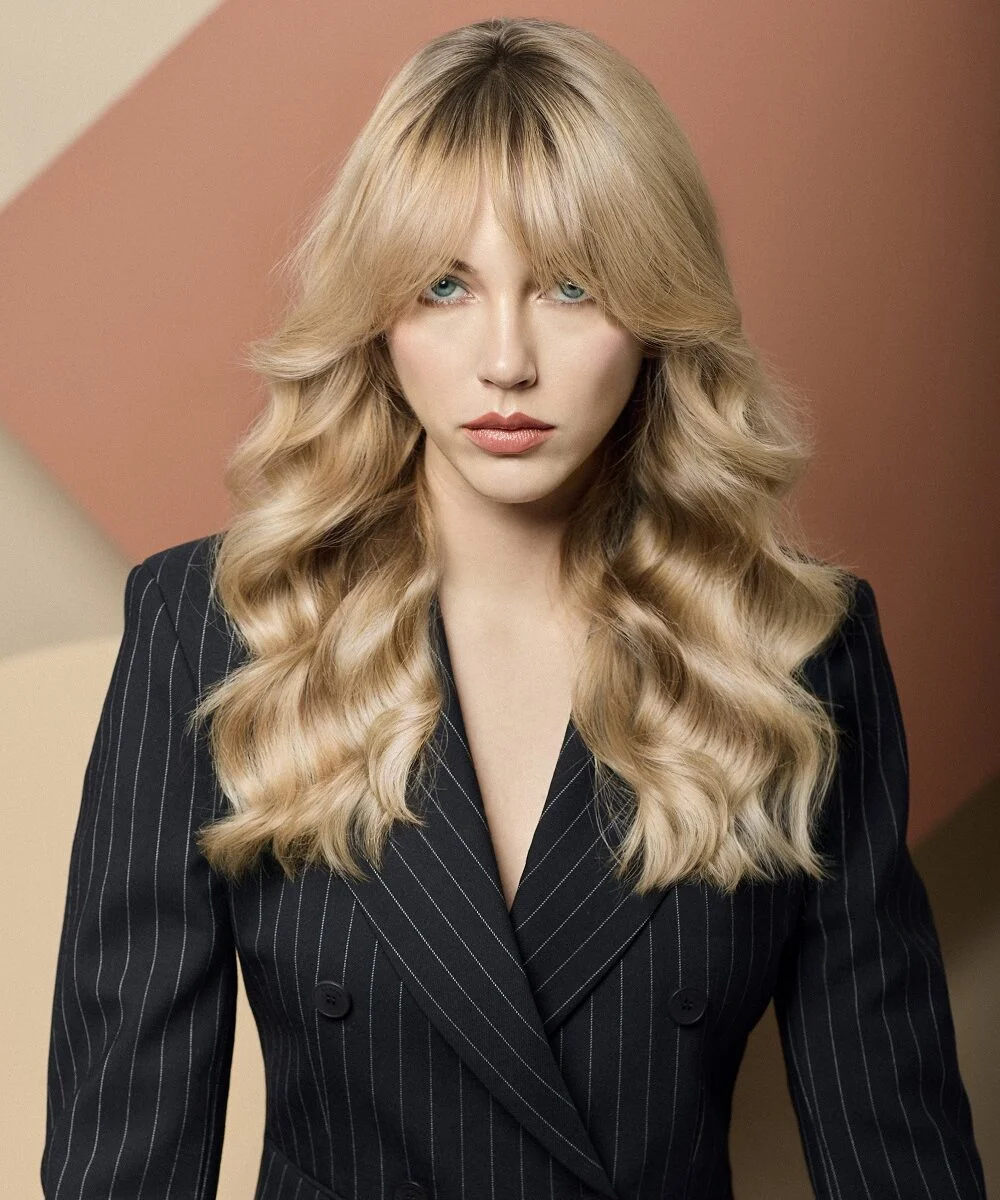
As seen in Danilo Giangreco’s new collection, Chroma Culture, this Champagne Blush shade is the ultimate expression of modern luxury.
Step 1: Lightening Process – Highlights & Foilyage
The goal here is to lift the hair to a pale yellow to achieve the champagne tone.
View this post on Instagram
Step 2: Root Melt & Toning
The goal is to create a soft, natural blend from root to ends for a seamless champagne finish.
Root Melt Formula (Soft Natural Blend)
• Level 7 Pearl Beige Blonde + 4 vol developer
• Apply at the roots, feathering down 1 inch (root tap) for a natural grow-out.
• Process for 5-10 minutes, then seamlessly blend into the toner for lengths and ends.
Toner Formula (Champagne Blonde)
• Hairline: Revlon Professional Colour Excel Gloss 10.03 + 4 vol for extra golden shine.
• Lengths & Ends: Revlon Professional Colour Excel Gloss 9.8 + 4 vol to create a perfect mix of nude blush and luxurious champagne blonde.
• Process for up to 10 minutes, watching closely for the perfect tone.
• Rinse and apply a colour-sealing treatment.
Step 3: Styling & Finishing
For more inspiration follow @danilogiangreco_hair on Instagram.